
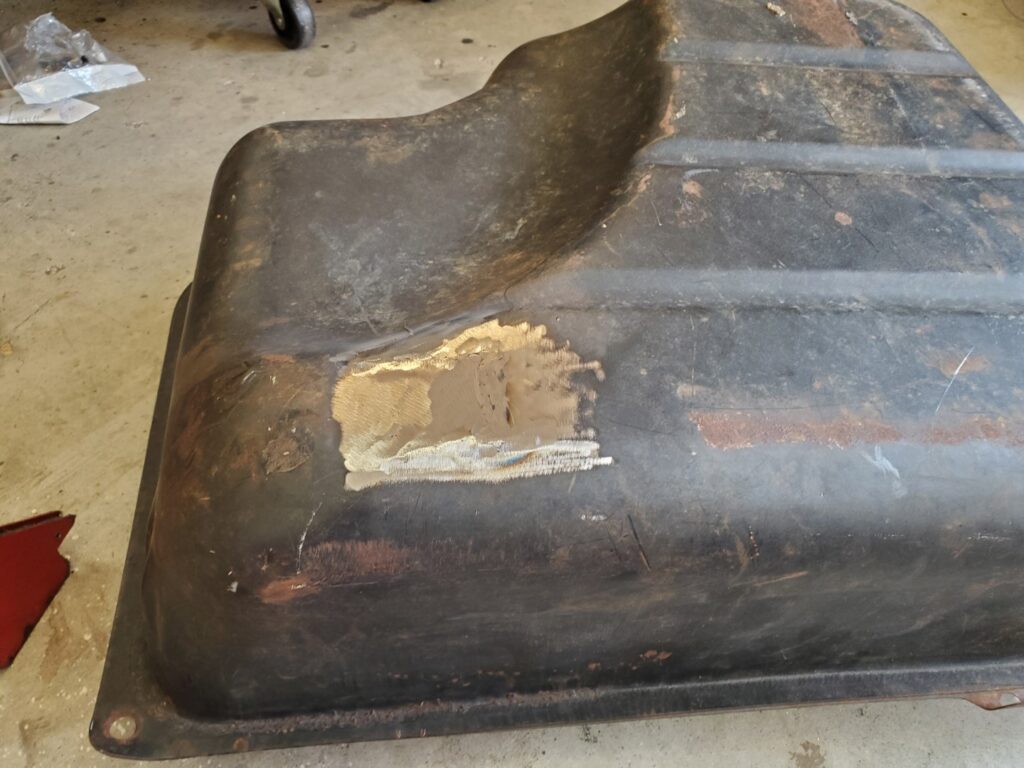
My old tank was pretty busted, so I ended up purchasing one from a fellow forum member which was in much better shape. Since I’m moving to EFI, my plan was to upgrade the tank slightly to help support that.
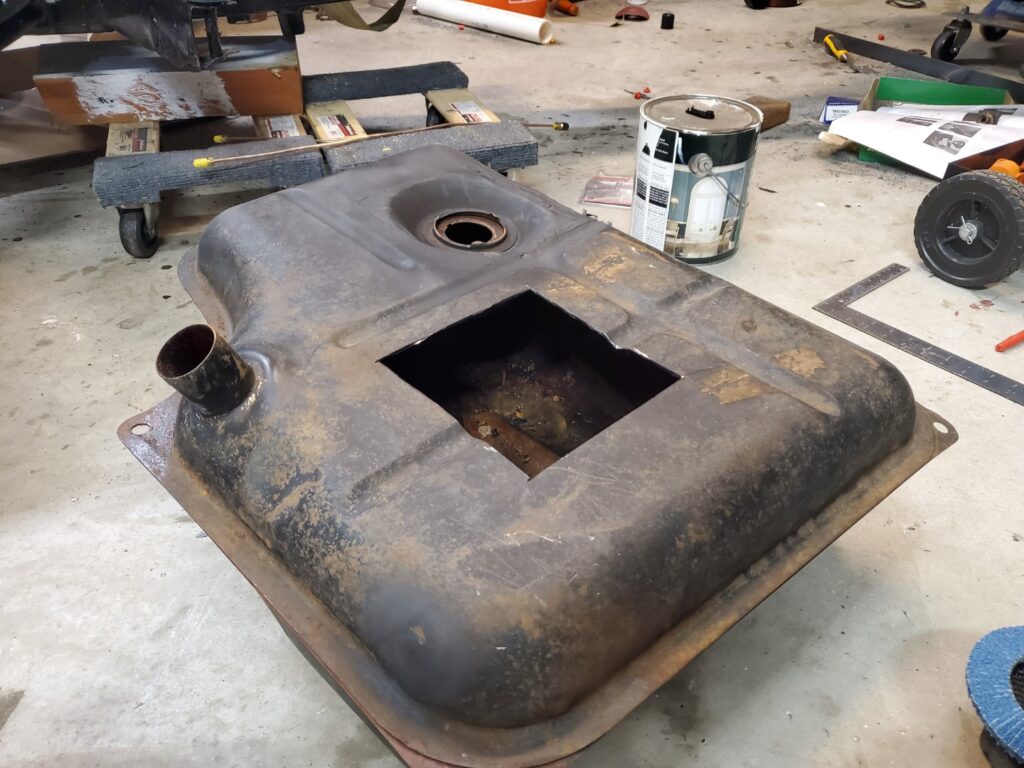
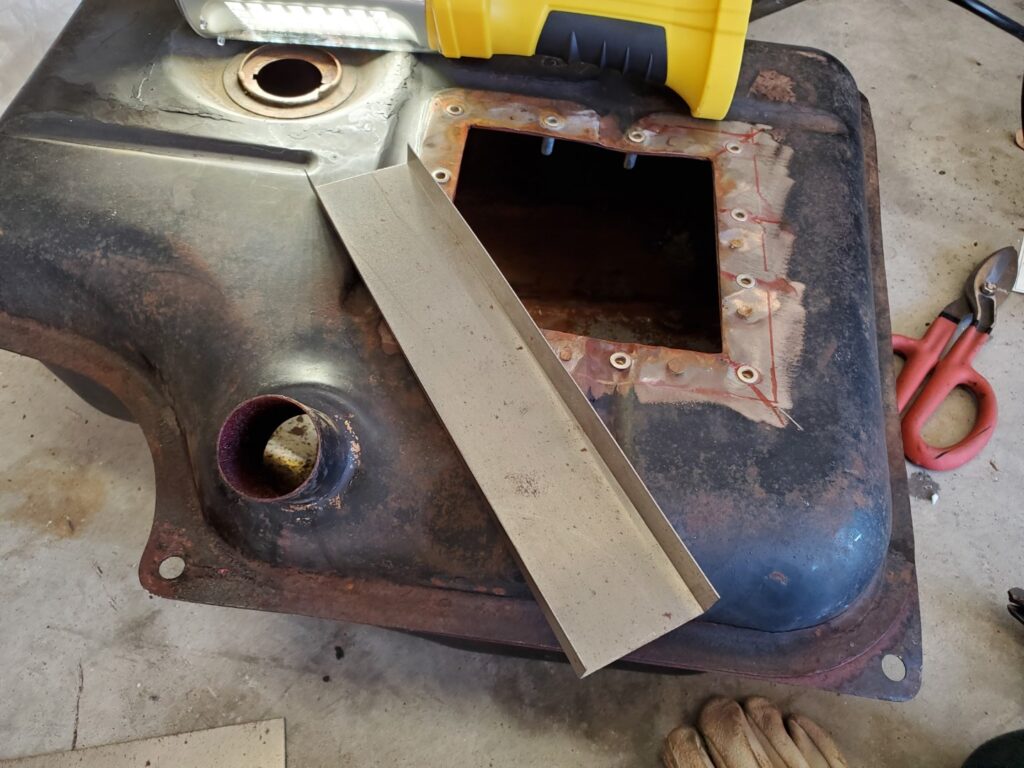
First things first, I removed and welded up all the vent pipes. I will be using one remote vent from the filler neck, so these are going away — and with them the tangle of hoses and vent canister on the pillar. I also cut out and welded up the bung on the bottom since I will be using a different outlet than the stock tank. Finally, I cut out a 6″ square access panel in the top so I can clean the tank well, as well as put in some baffling. I made a cover panel for this, and put in some closed-end rivnuts to seal it all back up.

Next up was cleaning the tank. It had a mixture of varnish and what appears to maybe be a tank sealer in it. I first tried the stripper that came with my KBS Coatings 53000 Auto Fuel Tank Sealer Kit, but that didn’t make a dent in it. Next up was two gallons of acetone. After soaking for around two days I was finally able to get it all out!


Next up was the baffling. I didn’t put a ton in, but any would help since the stock tank had none. I put in a trough from the filler next which leads directly to the source part of the tank to help fill from the furthest point from the filler. I then put in some basic lateral and longitudinal baffles to help with fuel slosh.


After this I put in the source and return fittings. I would have preferred to weld these in, but it was easiest to find aluminum. I ended up sealing them in with an epoxy made especially for fuel tanks. I am using a -10 AN male for the source fitting, and a -6 AN male for the return line.

The final step is to seal it up! I used the sealant that came with the KBS kit and it seems to have worked very well. I will paint the outside of the tank and that part should be done!
